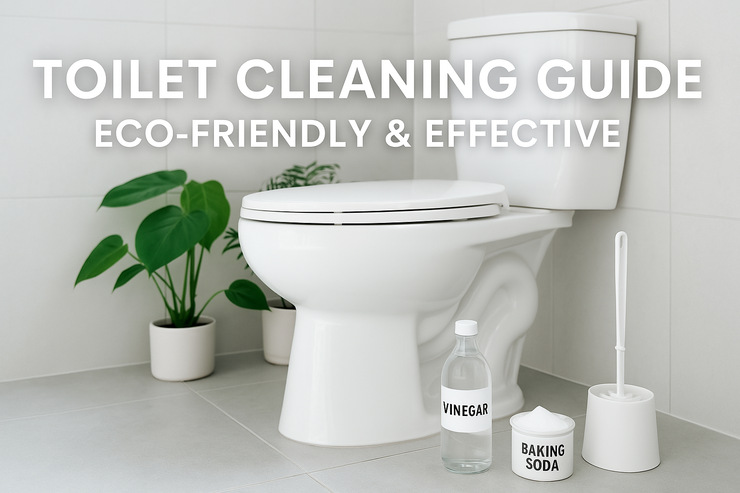
Toilet Cleaning Guide: Remove Stains & Odors Fast
Are you freaking tired of those obnoxious stains, odors, or irritatingly ingrained dirt that doesn’t seem to go? Who doesn’t love a clean toilet? Indeed, the most miserable fact of life could be having to clean a toilet-but it is probably one of the essential aspects to get a bathroom fresh and hygienic. Here is more happy news: cleaning does not have to be a horrible task! Along with some proper methods and nice little hacks, the dirtiest toilet can shine like new.
This is the ultimate Toilet Cleaning Guide guide to everything you need to know about conquering toilet grime after all these years. Eco-friendly cleaners. Time-saving tools. Just follow our methods step-by-step, and we will make this process so quick and effective that maybe, just maybe, it will feel almost satisfying. So roll up those sleeves (or grab those gloves!)—it’s time to take your bathroom’s most disliked spot and make it the cleanest throne in the whole house. Ready to wave goodbye to the grime, as per the suggestions of Bond Cleaning Sunshine Coast? Here goes!
1. Necessary Cleaning Supplies
Having all the essential cleaning materials and tools keeps one organized and saves precious time throughout the cleaning session. That’s why experts come well-equipped for the budget. All that is needed:
- A toilet brush
- White Vinegar
- Baking Soda
- Castile Soap
- Hydrogen Peroxide
- A Pumice Stone
- Rubber Gloves
- Hot Water Bucket
Tip: Keep away ammonia, bleach, and phthalates to pollute indoor air and even trigger allergies.
2. Drain Bowl Water In the Toilet
To improve cleaning effectiveness, drain the bowl of all water. Have the cleaner work more effectively and save time and effort. Pour a bucket of hot water into the bowl and wait a few seconds.
3. Remove Hard Water Stains from the Interior of the Toilet Seat.
Initially, you want to first flush the toilet, bringing the water level down. Pour a cup or so of diluted white vinegar into the toilet bowl, making sure every crack and crevice is coated, to begin the process of dissolving any hard water stains. Let it sit for about 20-30 minutes. The vinegar should effectively cut through mineral deposits and any sort of gunk. Using the toilet brush, scrub gently.
Adding baking powder will help leave no gunk or deadly bathroom bacteria behind. Let it sit for ten more minutes, then use the pumice stone to gently scrub it. Ensure you do it carefully to avoid scratches on the porcelain surface. Flush and behold sparkling results!
4. Douse Nasty Brown Stains Using Hydrogen Peroxide
Toilets get nasty, with brown stains from rust deposits and microbial nurseries. It is a general belief that one has to use something very abrasive and strong to get rid of those stains. The truth is, they’re easily removed with a mild hydrogen peroxide solution that works like magic. It not only brightens brownish stains but also does away with mould and limescale or organic accumulation, along with the germs holed up inside.
Pour about 1 cup of 3 per cent hydrogen peroxide into the toilet bowl or at the spot affected. Let it stay for half an hour for the organic buildup to be degraded. Use a brush to scrub the nooks and crannies beneath the spots. That’s how you bid goodbye to ugly, nasty and dangerous gunk. As noted in this Toilet Cleaning Guide, hydrogen peroxide is a safe and eco-conscious choice for tough stains.For those times when the entire house is your concern at the end of your tenancy, book the professional Bond Cleaning Perth and remain calm. They will do all the magic to help you secure full bond money without any dispute or disagreement.
5. Purify and Sanitize Under the Rim: Get Rid Of Scaly Biofilm
Scaly biofilm refers to a microbial growth that is very common, mainly because of mineral deposits, mould, and bacterial infestation. It usually develops in hidden damp areas such as under the rim and below the water line.
To eliminate this gunk, spray white vinegar-and-warm-water solution right into the area. You may also just use borax powder and leave it for about 30 minutes to 1 hour so that you can scrub it without a whole lot of hassle. Make sure that you use an angled bristle brush to reach up under the rim.
6. Thoroughly Clean From The Outside
Don’t just stop at the bowl. Ensure that the outside parts of the toilet are deep cleaned and disinfected. Use an old toothbrush in difficult places, such as underneath the toilet seat hinge, according to Bond Cleaning Sunshine Coast. It can effortlessly remove debris from confined areas, making your toilet pristine and sanitary. This full exterior cleaning ensures a Toilet Cleaning Guide is truly complete—not just surface-level clean.
7. Attention to the Surrounding Areas
Around the loos, make all efforts to scrub the area well to kill those poisonous germs and gunk using methylated spirits. Scrubbing works wonders when it comes to cleaning walls with a sponge; for floor cleaning, make use of a microfiber mop with a brush for cleaning fixtures. Mopping can be done with castile soap or any mild detergent. It keeps your house healthy and hygienic, as well as sparkling.
8. Toilet Brush and Holder
Now, immediately after sprucing up your toilet, clean the brush and the holder to keep germs at bay, as per Bond Cleaning Toowoomba. Sprintz the brush with rubbing alcohol and leave it for a few minutes, then rinse under hot water into the bucket. Also, spray that same solution down the toilet brush holder, hitting those nooks and crannies. To stop the growth of mould, rinse and thoroughly dry.
Conclusion
Indeed, hygiene, comfort and peace of mind occur around a toilet that looks clean. With the right implement, clear effective cleaners, and a simple routine, one could keep it fresh and sparkling with a minimum of effort. Tough stains and bad odors won’t stand a chance with dedicated upkeep. Grime is gone for a better, fresher bathroom, as well as a clean toilet that marks a clean house. Start today- refresh your space and turn your bathroom into a spot to be proud of- clean, fresh, and inviting.
Also learn about How to Clean Ceiling Fan Blades?